Blog Layout

A Step By Step Guide of Drywall Finish Levels

Tom Xu • Aug 07, 2022

A Step By Step Guide of Drywall Finish Levels

There are 6 drywall finish levels. In this article, we explain each. But first, a little introduction so you know what we are talking about.


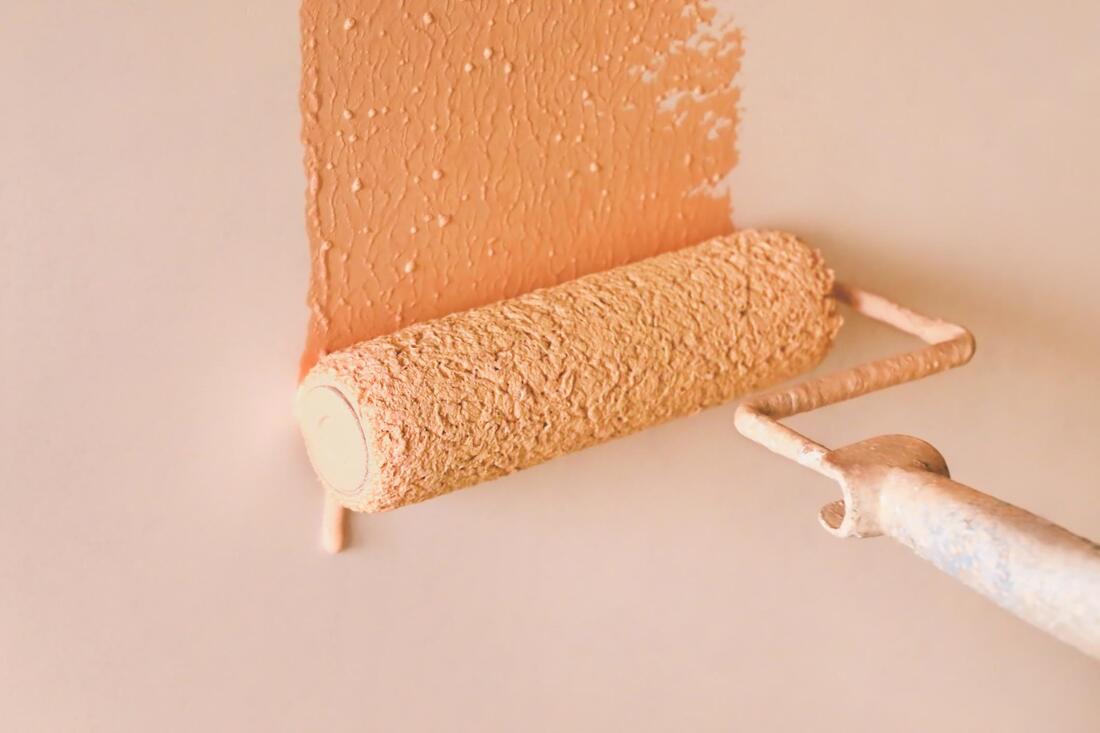
People get a drywall installation and finishing for one reason. And that is to get a smooth, uniform surface. But drywall installation is a service that depends on several factors like where in the house or building you are working on. Some finishes are only useful, while others are expensive and pretty.


For instance, many drywall contractors in Orange County only finish the walls of attached garages enough to meet the fire rating that building codes require. On the other end of the spectrum is a wall in the dining room that will get painted glossy. And this, in turn, will get lit by close-by ceiling canisters that cast light across the wall at a shallow angle. Under proper illumination, even a small flaw will stand out. So it is not always about achieving smoothness. It has to be utilitarian too.


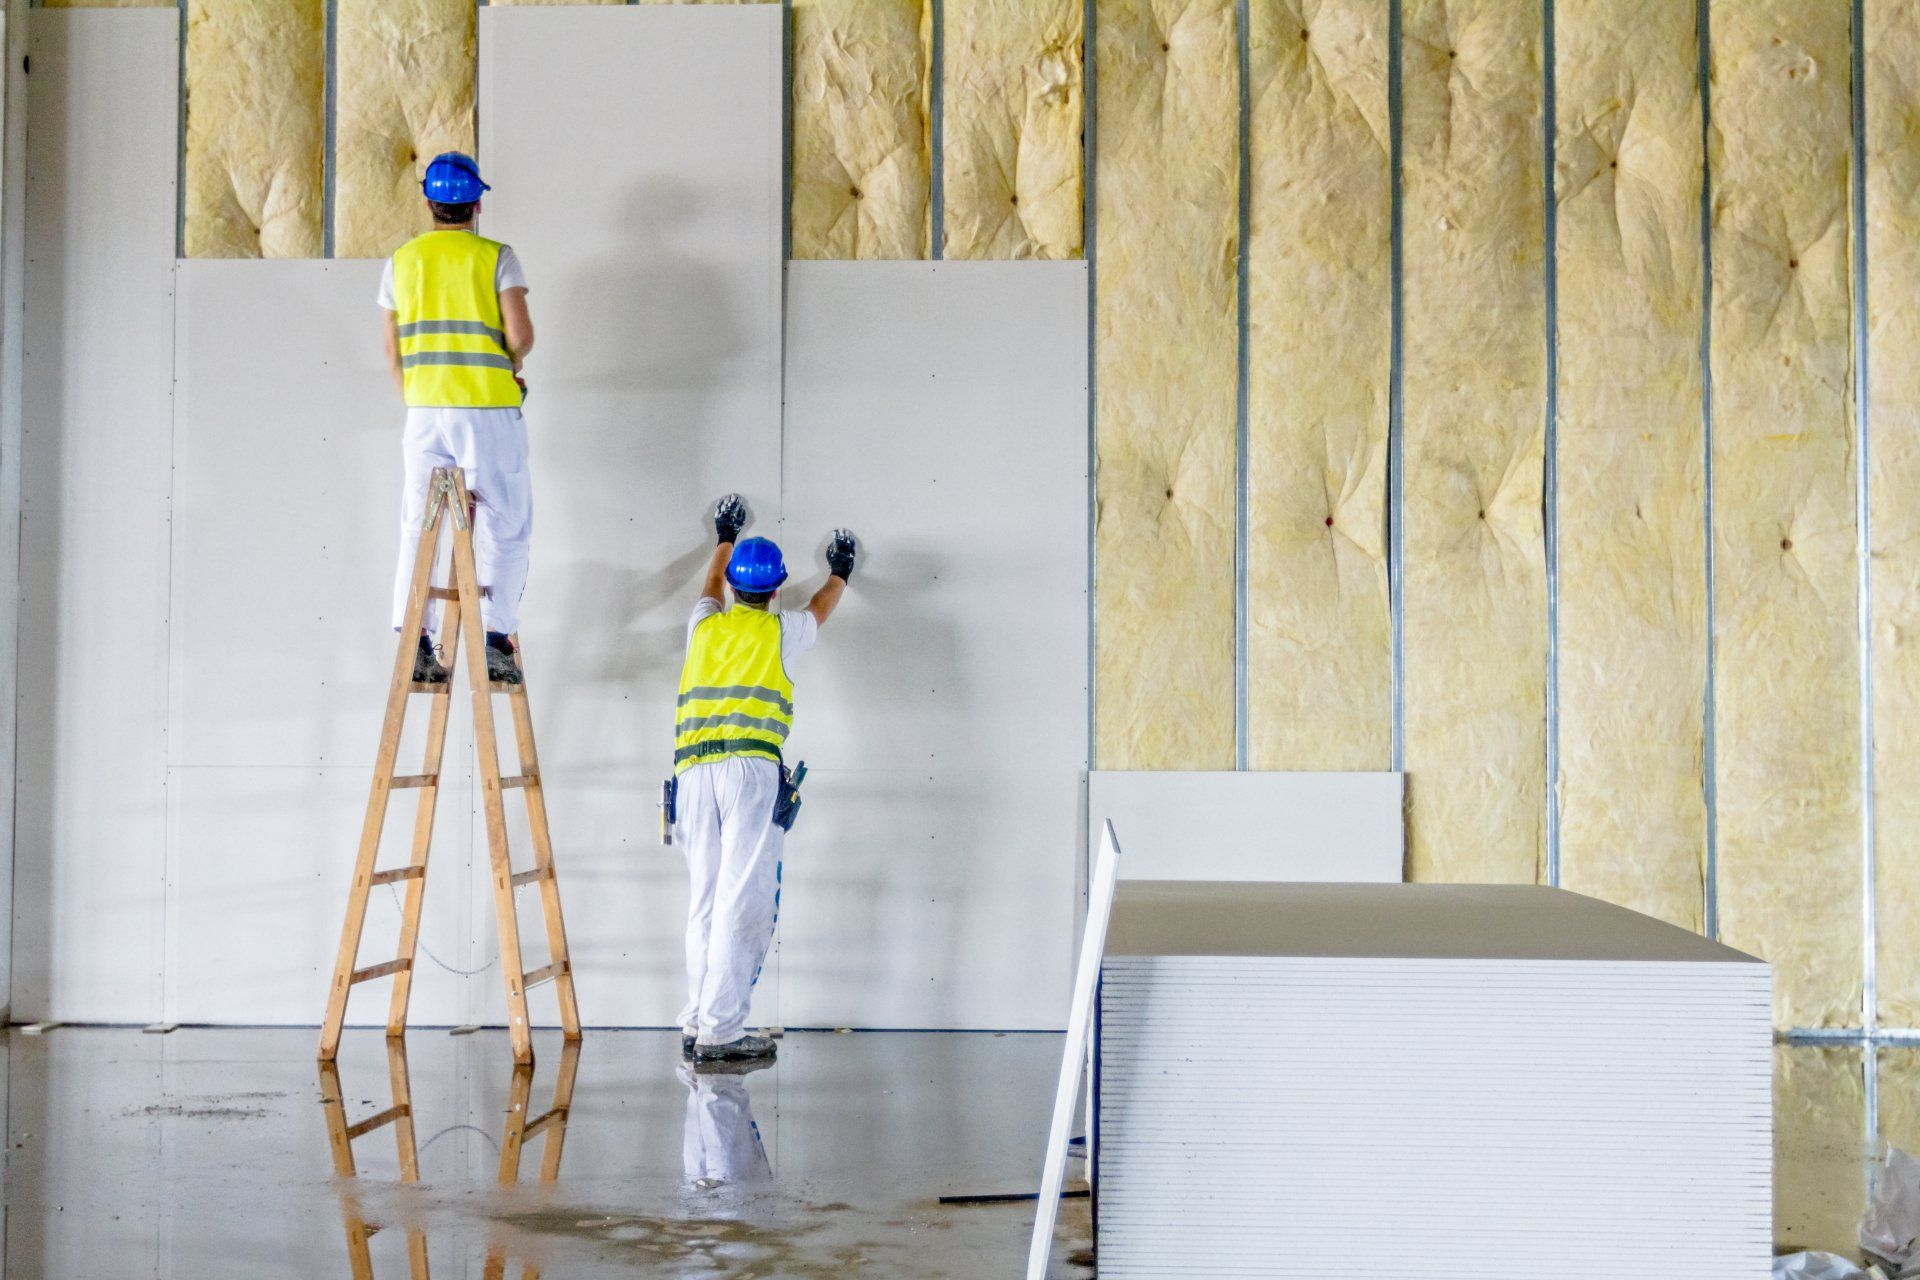
You must finish your drywall with its end purpose in mind. If you don't, you might waste resources trying to make a surface too smooth. Or you might be unhappy with the result if you don't put enough work into the project. If you are going to hire
drywall contractors in Orange County, it's especially important to know about the different levels of finish.


Level 0


In Level 0 jobs, the idea is that no one but the construction crew will see the work. There's no need for tape, finishing coats of mud, or corner beads. If a Level 0 standard is what you need, it's usually because the set-up is temporary. Or because the architect or specifier hasn't decided how the job should look yet. So this is the most basic and unfinished level of drywall finish.


Level 1


Drywall contractors use level 1 in attics, garages, and other places that are not open to the public. Tape gets mixed into the joint compound for drywall joints and angles, but the compound doesn't cover the screws. Even if some boards have tool marks and ridges, drywall companies can install accessories in corridors and other high-traffic areas.


Level 2


At this level, again, all drywall joints and interior angles are taped. The tape gets embedded in the compound instead of just being set. Also, the joints and angles are wiped with a joint knife to leave a thin layer of compound. Moreso, all of the heads of the nails, screws, and other fasteners, as well as all of the beads, are covered with one coat of compound. 


Tape is mixed into the joint compound and put on the inside angles and joints. The excess joint compound gets removed right away, leaving a thin coating over the angles and joints. Level 2 walls are usually for garages, warehouses, and other places where the look of the wall is not as important. You also get to use them when you use a water-resistant board as a tile substrate.


Level 3


As with level 2, level 3 finishes involve putting tape in the joint compound and wiping it off to leave a thin coat over the inside angles and joints. The difference here is that there is an extra layer of joint compound on the joints and inside angles, while there are two layers of joint compound on the fasteners and accessories. 


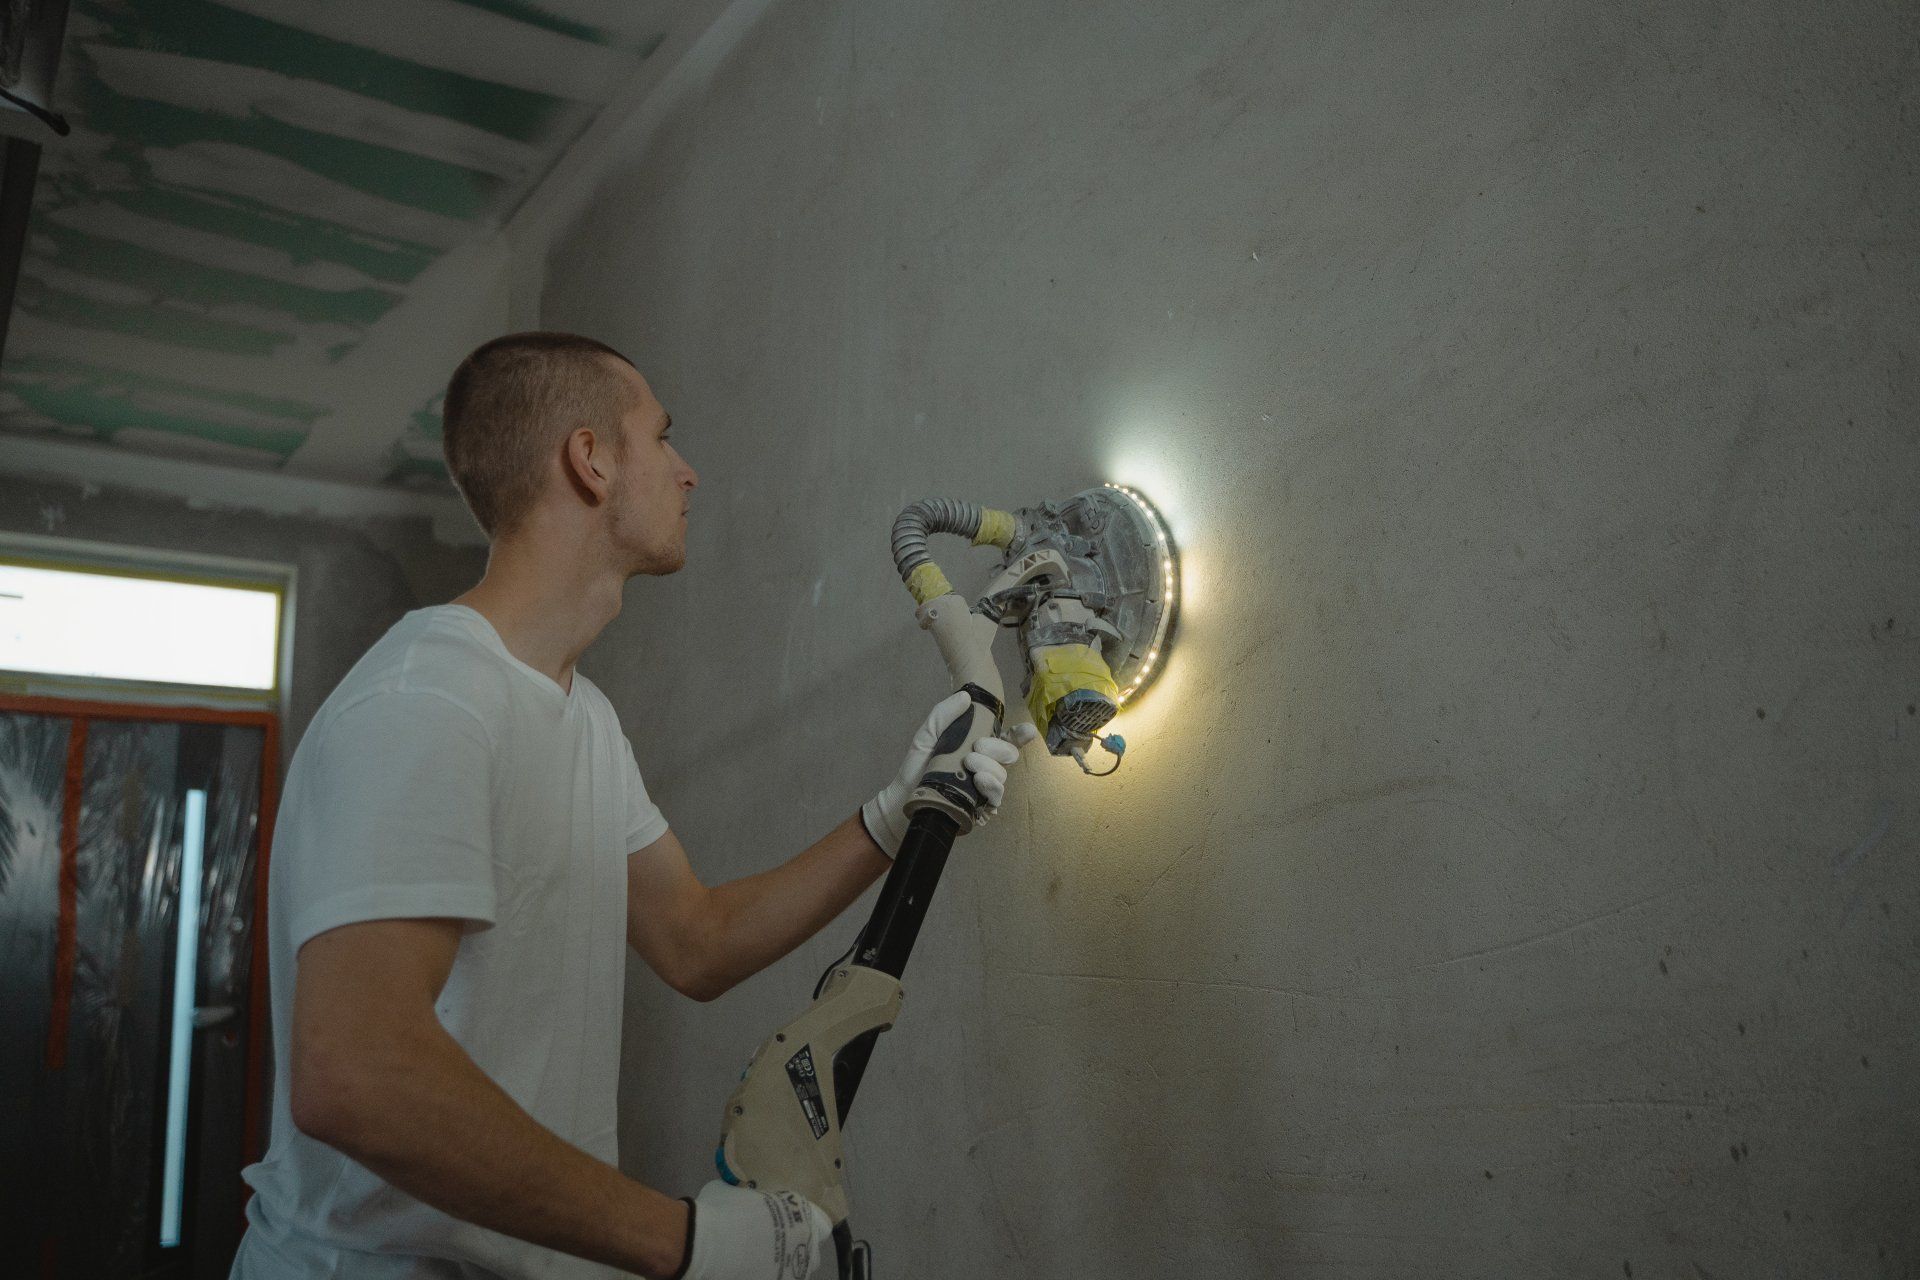
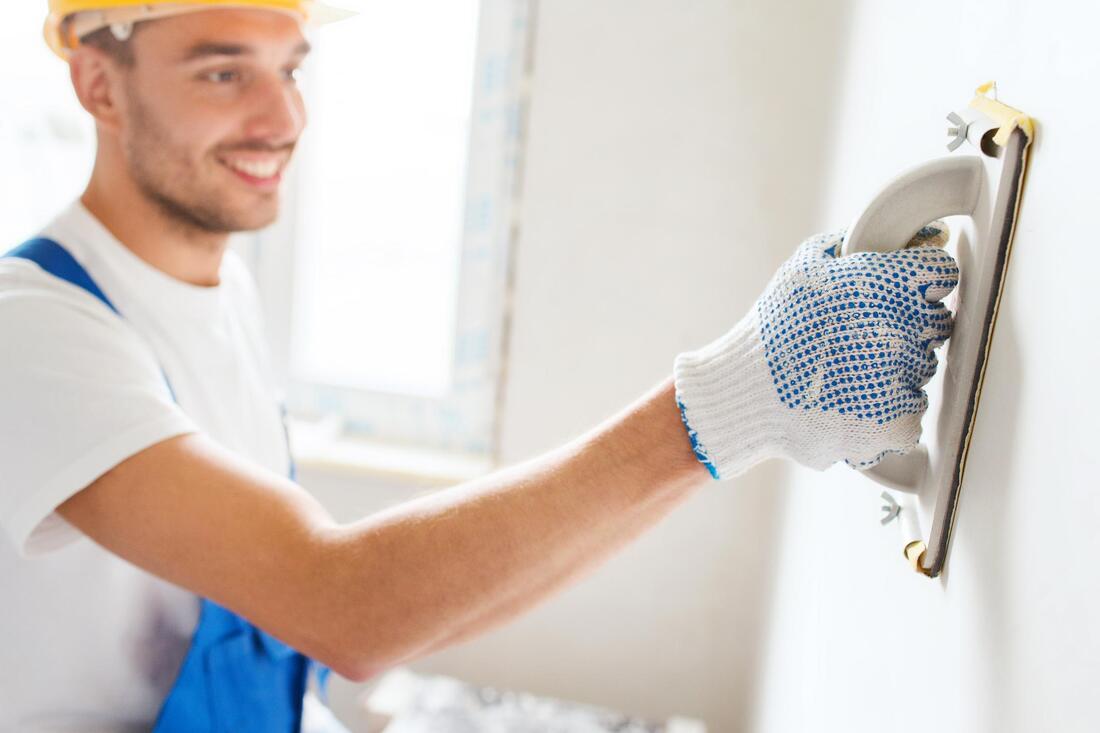
There are no ridges and marks from tools here. When the surface is ready, the contractor puts a drywall primer on it before the final paint job. 


Level 3 drywall finish is what you'd use when the last step is to add heavy wall decorations or drywall textures. It's not the kind of finish you'd want for casual flat painting or light wallcoverings in your home.


Level 4


Here, too, the first steps are done again. In other words, the tape gets put into the joint compound at the joints and inside angles, and then the area must be wiped until there is nothing but a thin layer over them. 


Now, the difference is that the drywall contractor will put two coats of joint compound over the flat joints and one coat over the inside angles. Then they will put three coats of joint compound over the accessories and fasteners. 


The contractor will smooth out all of the joint compounds will be smoothed out so that there are no ridges or tool marks. Finally, the contractor will put a primer on the surface before decorating it the way you want. This is the best drywall finish level for light residential wallcoverings, light textures, and flat paints. So, all joints and fasteners must be well hidden, so they don't show through the paint or wallcoverings.


Level 5


With a Level 5 finish, the goal is to get a perfectly flat surface. This is the highest grade of drywall finish, which makes sure that everything looks the same and hides any flaws. Tape still gets stuck in the joint compound on the interior angles and joints, but it quickly gets wiped away to leave a thin coat. 


Then, the contractor puts two separate coats of joint compound on the flat joints, and one coat is allowed on the interior angles. For better results, the fasteners and other parts get covered with three coatings. 


Last, a skim coat of joint compound is put on the whole surface to finish. This makes sure that the surface is smooth and that any flaws are covered well. There are no tool marks or ridges, so that makes sense.


At a Level 5 finish, the drywall has a perfectly smooth, uniform surface that looks great under strong lighting, harsh shadows, or high-gloss paint. And your fasteners rarely show through the paint. It's the best way to finish drywall.


There you have it! With this information, you know what you need and how to achieve it. But if you need more to decide what finish is best for you, here’s all you need to know about the
several drywall options you have


Now, these levels of drywall finishing have been the industry standard for three decades. Of course, the higher the quality of the drywall finish, the better. Remember that level 5 paint is required for flat paint but not for texturized painting. Therefore, it's not necessary if you're painting commercially. Please let us know if you have any questions. OC Drywall Repair is always ready to help with your drywall installation and
drywall repair in Orange County. Get a quote from us today!

By Tom Xu 22 Aug, 2022
Today, we want to discuss how to use drywall in your office. As you have probably seen, drywall has become one of the best options for changing up an office.
By Tom Xu 14 Aug, 2022
Any painter in Orange County, CA, will always recommend using a primer before painting your drywall. Yet many do-it-yourselfers find it hard to believe that priming is not an optional step.
By Tom Xu 30 Jul, 2022
Every successful drywall installation in Orange County requires five finish levels. Level 4 is when we have the drywall sanding. It is one of the most critical steps in putting up drywall.
By Tom Xu 24 Jul, 2022
Are you wondering if you should get a new Orange County drywall? Drywall is a vital add-on to every home's remodeling and finishing. Today, we bring a convincing argument about drywall.
By Tom Xu 16 Jul, 2022
Making a drywall installation mistake opens the door to long-lasting problems in your walls or coats of paint. This article shows you how to avoid common drywall texturing mistakes.
By Tom Xu 10 Jul, 2022
When it comes to this fire-retarding and resisting panels, the two names that come to mind are Type X and Type C. Both of them do the same job, but you will have to choose either of the two because you cannot use both of them.
man installing drywall in Orange County
By Tom Xu 02 Jan, 2022
Drywall is the first option when it comes to choosing materials for your interior wall covering. This wall material is versatile, especially when installing drywall access panels bead flange for your mechanical systems.
drywall boards ready to be installed
11 Dec, 2021
Getting the appropriate building materials is critical whether you're constructing a new building or remodeling an existing one. While there are benefits and drawbacks to drywall, the positives appear to exceed the negatives.
By Tom Xu 22 Oct, 2021
Estimating your total expenses is essential to avoid exceeding your planned budget when it comes to construction projects. Drywall installation is a big project. It also involves the following factors: the installment, labor, materials, and other equipment involved, such as installing drywall access doors and panels for your wirings or plumbings. These processes will involve additional payments that you will have to include in your budget. On the bright side, you won't have to worry if you'll exceed your budget. This article will serve as your guide to know what to expect when dealing with drywall installation projects. But first, you need to choose what type of drywall you want for your establishment because this will also vary in the total costing of the project. Types of Drywall There are also other drywall options that you can choose from if you have a bigger budget. You can select from either of the options on which is much more efficient for the space you are renovating. The standard drywall is the most economical option on the market. Still, if you are interested in other expensive types, these options may be worth the additional investment in some cases. Moisture-resistant panels: This drywall option is more beneficial for humid rooms, which are most likely your bathroom or kitchen. Mold-resistant panels: If you think the room you're renovating is susceptible to high levels of moisture, then a mold-resistant material could be worth it. However, they're more expensive than standard moisture-resistant panels and still won't cope with saturated or flooded conditions. Fire-resistant panels: This option is advantageous if you want to use non-combustible fibers of different ratings. These are most likely in commercial settings. However, this material is required in a garage if it shares a wall or ceiling with the main home. Soundproof panels: This type of drywall is ideal for music rooms, a baby's room if you want to dampen external noises, or even a teen's bedroom if they enjoy the company of loud music. Eco-friendly panels: If you want a more environmentally friendly alternative, then this drywall is for you. Drywall panels constructed from recycled materials are available in the market, but unfortunately, sustainable materials typically cost more than regular drywall. Drywall Hanging and Taping Drywall installation costs vary significantly in the United States. Typically, residential jobs range from $955 to $2547 with an average of 1,000 square feet at $2,290; the area, contractor, and specs tend to impact the job's overall cost intensely. Adding specialty material such as green board or other brands of drywall for fire resistance or adding features that require special skills such as archways can increase the price. Cities in the northeast, such as New York City and Philadelphia, tend to have the highest labor and material costs in the country, drastically increasing the cost of having drywall installed on your project. On a per-square-foot basis, the average range for drywall installation costs is between $1.60 and $2.35. Meanwhile, with outliers at $1.20 and $3.00 on the low and high ends of the field. Materials When deliberating on the material costs, first, you must answer the question, "what type of drywall do you need for the job?" Three-eighths, half-inch, and five-eights are the mainstays of most projects, with some specialty archways and similar projects requiring quarter-inch. Understanding all of the materials needed for the specs and codes of the project is a vital part of creating a solid estimate of drywall installation costs. Another aspect to consider is how material prices can rapidly change. Generally speaking, you want to lock in prices for your estimate to ensure you can receive that price when it's actually time to build, but it can be a pain requesting a quote from your supplier every time you have a project come up. This extra work is why many contractors fail to get quotes from suppliers. This instance can lead to problems if a sudden national supply shortage following a natural disaster, manufacturing plant fire, or a similar issue causes a shorter supply than is usually available. Labor Costs When choosing the right people for installing your drywall, an experienced one may cost a little more, but you will have the assurance that the project will go smoothly according to plan. An experienced worker will surely know the flow of the project, like how to install an access panel in a drywall ceiling and other processes. Similarly, an inexperienced taper may take much longer to get the job done, so even though their hourly wage is less than a professional taper, they will tend to cost more in the long run because they move more slowly. The distinction in a company's quoted price is generally more inclined on its labor costs than material costs. There is a wide range in labor costs from one company to another based on its structure and ability. Labor prices may also vary from state to state and different cities. Prices for labor only for hanging and taping drywall can range from 45 cents per square foot to 100 cents per square foot. You should expect to pay more in work for rooms with high ceilings, tricky angles, or decorative undersurfaces. Permits, Prep Work, and Rentals Beyond simple labor and materials, there are several other different job-related costs that your business wouldn't sustain unless you were working on that specific project. Permits for the project, extra labor, expenses for having prep work done before drywalling, and other included chores can eat away at your profitability if you don't take them into account. When you're estimating a new job, it's essential to consider every potential expense so that you include everything. Overall, when it comes to drywall installation, estimating the value of the project is vital. First, you need to make a checklist of the different materials included. Hiring a trusted contractor for the project will also allow you to ensure how much the project will cost. Remember to ask for quotes from different companies before starting your construction project. With this, you will secure that your estimated budget will go according to plan.
Share by: