Blog Layout

The Best Tips to Avoid Drywall Texturing Mistakes

Tom Xu • Jul 16, 2022

The Best Tips to Avoid Drywall Texturing Mistakes

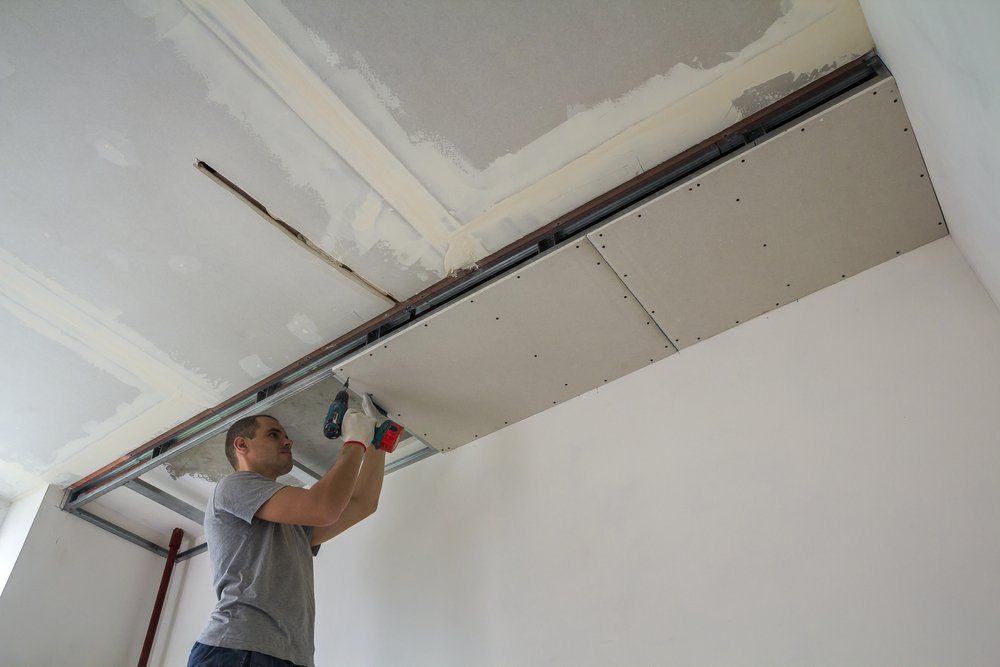
Drywall installation is probably one of the easiest yet trickiest DIY projects. Making a drywall installation mistake opens the door to long-lasting problems in your walls or coats of paint. So you might want to hold your horses and go through the process as gradually and carefully as possible. However, the most crucial phase of drywall finishing is texturing. It is the last phase, but getting it wrong can ruin the entire project. Imagine re-doing your drywall after the installation, taping, mudding, and sanding. A nightmare!


This article shows you how to avoid drywall texturing mistakes like using thin paint, the wrong primer, and tools. However, the safest way to avoid making a drywall texturing mistake is by hiring a drywall contractor in Orange County.


Without further ado, here are the best tips to avoid drywall texturing mistakes:


1. Adhere Strictly to Instructions


Decide what kind of drywall texture you want to use in your home before you begin. Depending on how you apply the paint, there are a variety of textures. Textures include slap brush, skip-trowel, orange peel, and more. There are a variety of finishes that you can achieve with these textures.


It may not be easy to get the finish you want as a rookie. So take note of what's in the user's guide. We can not say this enough, but success lies in your following instructions. Get in touch with your local Orange County painting company if you don't understand the guide.


2. Mix the Texture Properly


The lumping of mix occurs when there is excessive water in the original mixture. Begin mixing with little amounts of water to avoid creating lumps in the drywall texture. Then keep adding water until there are none left. Take your time and use a high-quality mixer to get the job done. Keep in mind that it's better to add water in bits than to have a mix that you'll have to throw away at some point.


If your drywall texture mix gets watery, cold water is the likely culprit. If you have to use that, you should let the material soak in cold water for at least two hours before mixing it. Drywall texture materials do not do well with temperatures below 55 degrees Fahrenheit. Remember to use the correct amount of water, perhaps a tad less than the manufacturer recommends.


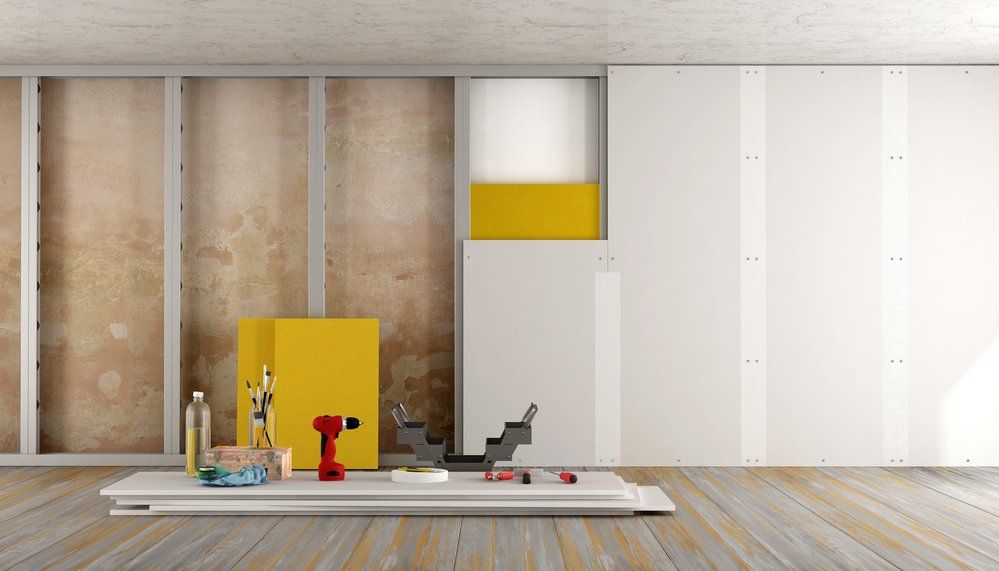
3. Use the Proper Equipment


Texturing techniques using brushes and rollers differ from those using spray guns or paint markers. As a result, using the proper texturing tools is critical to attaining the intended outcome.


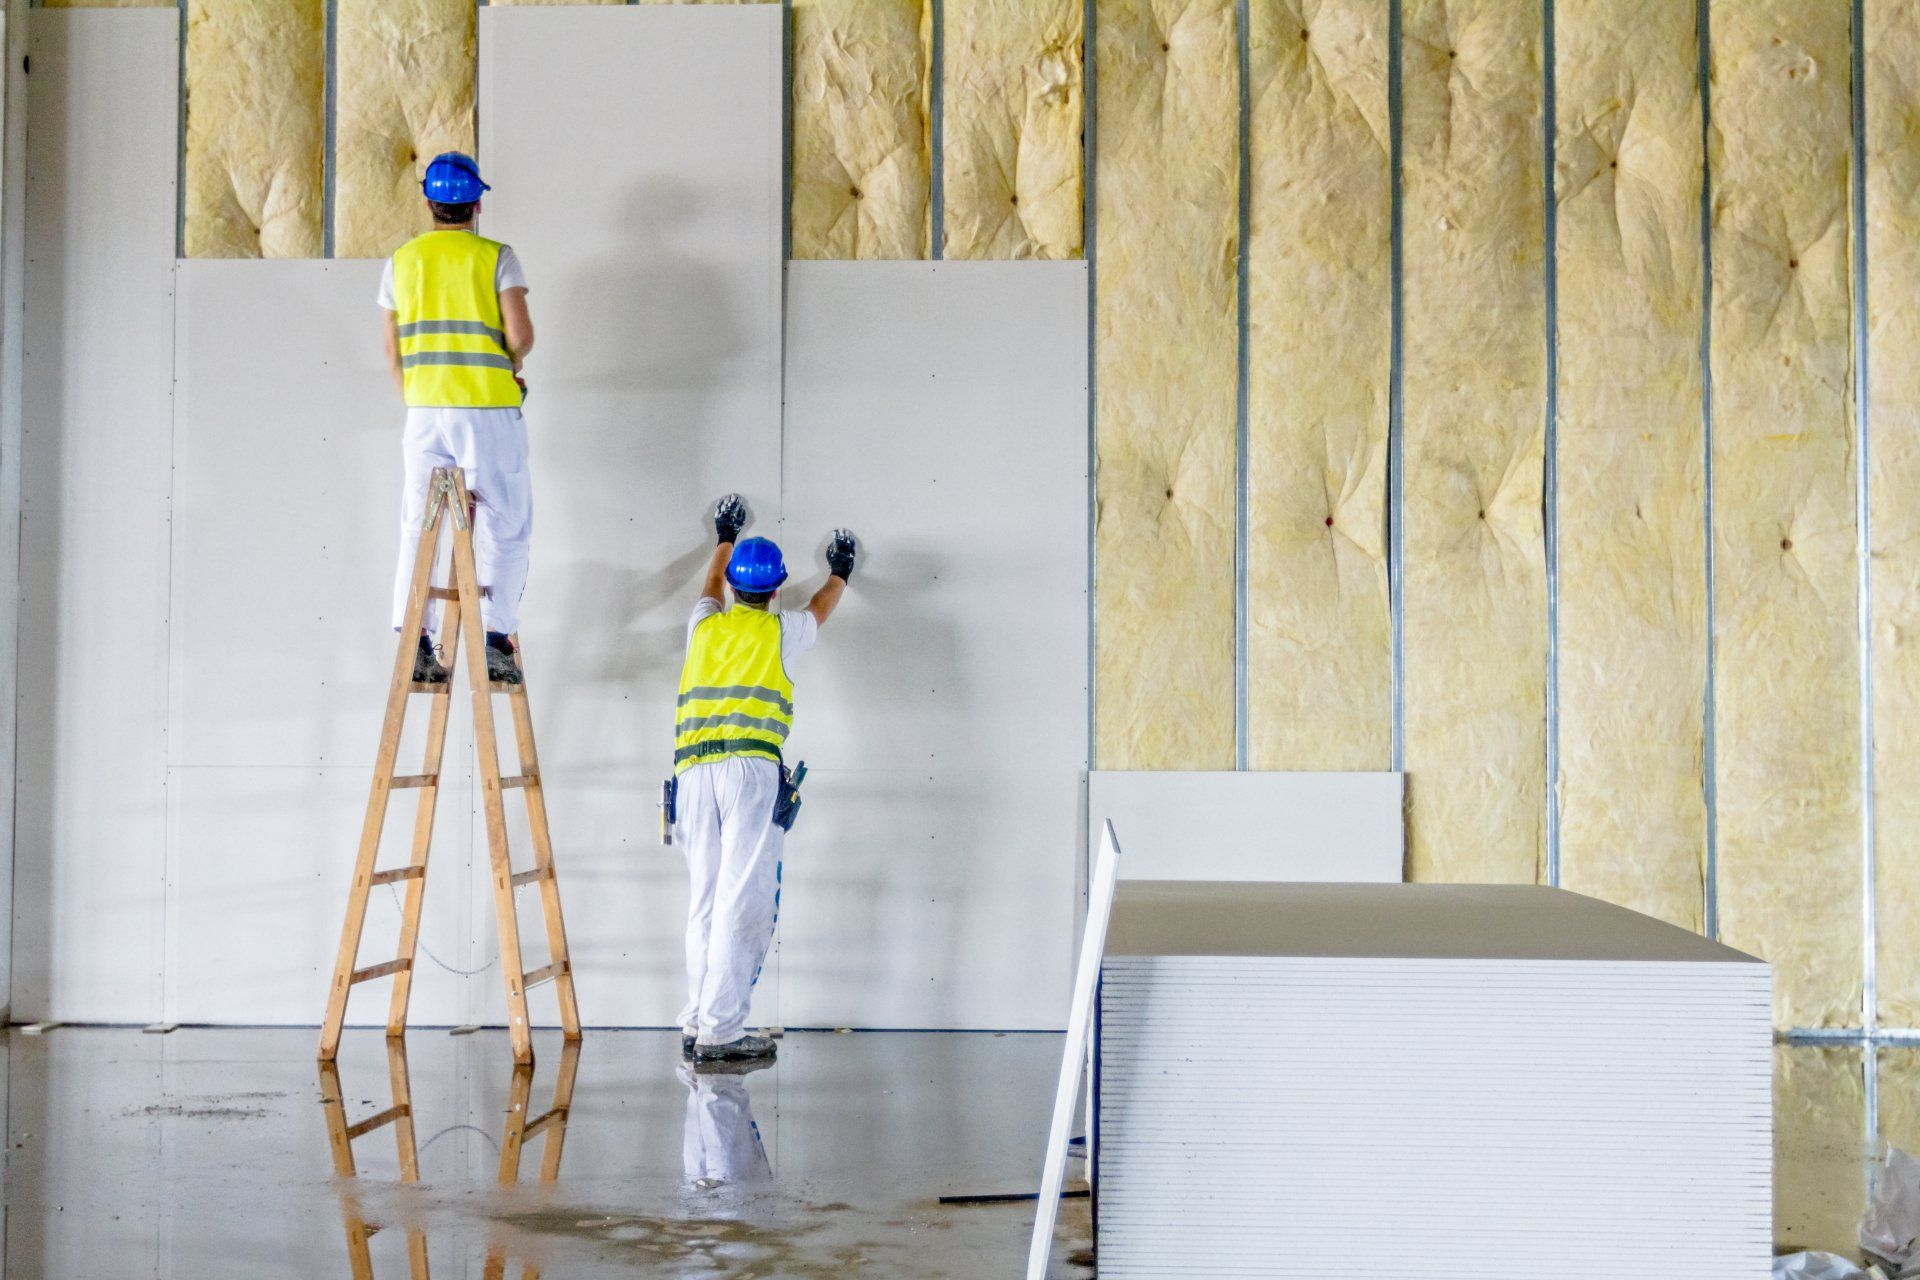
For example, you'd need two people to get the sand swirl texture. During this process, one person rolls the mixture while the other crafts the designs. If you aren't quick enough, the paint may dry before you complete the design. You must be sure that you are using the correct tools for your chosen method.


4. If You Are Using a Spray, Do So Carefully


When using a spray-on texture, follow the manufacturer's instructions about how much air pressure to use. If you hold the gun too close to the surface you're spraying, the aggregate will bounce off or fall out of the application. In other words, the texture won't stick to the wall's surface.


5. Carefully Handle the Sprayer


Use the appropriate amount of water to ensure that the spray-on texture has the proper viscosity. Sprayer movement should not be excessively quick or slow. When applying the spray-on texture, you'll need to figure out the ideal speed to employ. Be careful not to oversaturate the spray surface, and ensure you're using the proper spray pressure. The rate at which you apply the paint must be the same on every part of the surface.


6. Use the Right Spray Pressure


Water shortages are a regular difficulty while preparing a spray mix. You may not have assessed the material correctly, and you are attempting to cover an area larger than the recommended one. Use the right spray pressure and uniformly apply the joint to avoid this problem. When it comes to the recommended coverage area, always heed the manufacturer's advice.


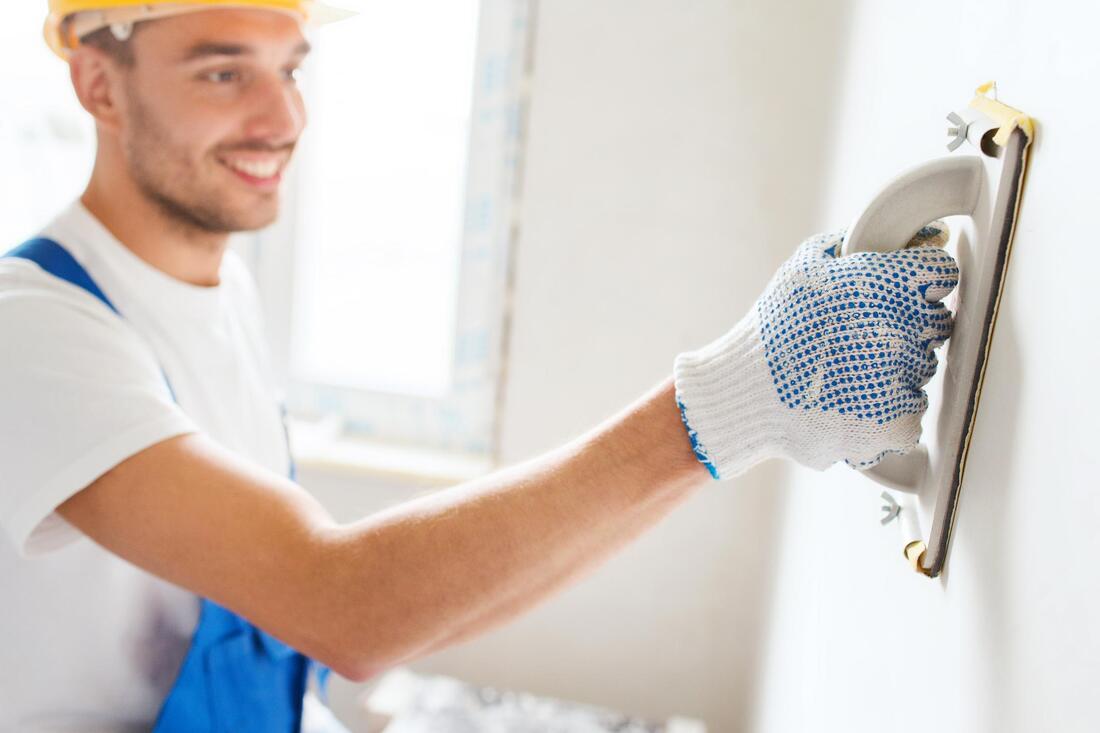
7. Get the Walls Ready


If the tape is coming off or nails are sticking out, it's not a good idea to start texturing the drywall. So, it would be best to ensure the drywall is ready for texturing before you start. Sand the drywall, fill in holes, and fix any tape coming off. The paint will stick to the surface much better if the surface is smooth.


8. Use Both the Primer and the Paint


It is important to prime the drywall before you start adding texture. Use the right primer. If you prime the drywall first, the paint will stick to it much better.


When you haven't properly primed a drywall seam, a layer of texture might build up. So, you should apply roller or brush textures as soon as possible after each other. The dilution of texture material can cause texture buildup over drywall joints. When combining texture material, use the correct amount of water. And give yourself enough time between applying the texture material and texturing it.


9. Do Not Flash Over Gypsum Panels


The texture can change when you flash over gypsum panels, which often shows as a color difference. Let the texture dry, then paint the whole surface. Use a primer coat or flat interior latex paint to prepare the surface before adding texture. To avoid other problems, use the products at the right temperature.


Conclusion


You can achieve aesthetic excellence if you follow these tips. As we said, this phase of drywall installation is the toughest. But you will scale through with the right tools, right paint, right primer, and adherence to instructions. Again, hire some drywall contractors in Orange County if you think the work is too difficult. They will start and finish the project for you with ease.


Orange County Drywall Repair is a company that paints and fixes drywall. We have the experience, skills, and tools to texture your drywall at prices you can afford. Give us a call to get a quote now!

By Tom Xu 22 Aug, 2022
Today, we want to discuss how to use drywall in your office. As you have probably seen, drywall has become one of the best options for changing up an office.
By Tom Xu 14 Aug, 2022
Any painter in Orange County, CA, will always recommend using a primer before painting your drywall. Yet many do-it-yourselfers find it hard to believe that priming is not an optional step.
By Tom Xu 07 Aug, 2022
There are 6 drywall finish levels. In this article, we explain each. But first, a little introduction so you know what we are talking about.
By Tom Xu 30 Jul, 2022
Every successful drywall installation in Orange County requires five finish levels. Level 4 is when we have the drywall sanding. It is one of the most critical steps in putting up drywall.
By Tom Xu 24 Jul, 2022
Are you wondering if you should get a new Orange County drywall? Drywall is a vital add-on to every home's remodeling and finishing. Today, we bring a convincing argument about drywall.
By Tom Xu 10 Jul, 2022
When it comes to this fire-retarding and resisting panels, the two names that come to mind are Type X and Type C. Both of them do the same job, but you will have to choose either of the two because you cannot use both of them.
man installing drywall in Orange County
By Tom Xu 02 Jan, 2022
Drywall is the first option when it comes to choosing materials for your interior wall covering. This wall material is versatile, especially when installing drywall access panels bead flange for your mechanical systems.
drywall boards ready to be installed
11 Dec, 2021
Getting the appropriate building materials is critical whether you're constructing a new building or remodeling an existing one. While there are benefits and drawbacks to drywall, the positives appear to exceed the negatives.
By Tom Xu 22 Oct, 2021
Estimating your total expenses is essential to avoid exceeding your planned budget when it comes to construction projects. Drywall installation is a big project. It also involves the following factors: the installment, labor, materials, and other equipment involved, such as installing drywall access doors and panels for your wirings or plumbings. These processes will involve additional payments that you will have to include in your budget. On the bright side, you won't have to worry if you'll exceed your budget. This article will serve as your guide to know what to expect when dealing with drywall installation projects. But first, you need to choose what type of drywall you want for your establishment because this will also vary in the total costing of the project. Types of Drywall There are also other drywall options that you can choose from if you have a bigger budget. You can select from either of the options on which is much more efficient for the space you are renovating. The standard drywall is the most economical option on the market. Still, if you are interested in other expensive types, these options may be worth the additional investment in some cases. Moisture-resistant panels: This drywall option is more beneficial for humid rooms, which are most likely your bathroom or kitchen. Mold-resistant panels: If you think the room you're renovating is susceptible to high levels of moisture, then a mold-resistant material could be worth it. However, they're more expensive than standard moisture-resistant panels and still won't cope with saturated or flooded conditions. Fire-resistant panels: This option is advantageous if you want to use non-combustible fibers of different ratings. These are most likely in commercial settings. However, this material is required in a garage if it shares a wall or ceiling with the main home. Soundproof panels: This type of drywall is ideal for music rooms, a baby's room if you want to dampen external noises, or even a teen's bedroom if they enjoy the company of loud music. Eco-friendly panels: If you want a more environmentally friendly alternative, then this drywall is for you. Drywall panels constructed from recycled materials are available in the market, but unfortunately, sustainable materials typically cost more than regular drywall. Drywall Hanging and Taping Drywall installation costs vary significantly in the United States. Typically, residential jobs range from $955 to $2547 with an average of 1,000 square feet at $2,290; the area, contractor, and specs tend to impact the job's overall cost intensely. Adding specialty material such as green board or other brands of drywall for fire resistance or adding features that require special skills such as archways can increase the price. Cities in the northeast, such as New York City and Philadelphia, tend to have the highest labor and material costs in the country, drastically increasing the cost of having drywall installed on your project. On a per-square-foot basis, the average range for drywall installation costs is between $1.60 and $2.35. Meanwhile, with outliers at $1.20 and $3.00 on the low and high ends of the field. Materials When deliberating on the material costs, first, you must answer the question, "what type of drywall do you need for the job?" Three-eighths, half-inch, and five-eights are the mainstays of most projects, with some specialty archways and similar projects requiring quarter-inch. Understanding all of the materials needed for the specs and codes of the project is a vital part of creating a solid estimate of drywall installation costs. Another aspect to consider is how material prices can rapidly change. Generally speaking, you want to lock in prices for your estimate to ensure you can receive that price when it's actually time to build, but it can be a pain requesting a quote from your supplier every time you have a project come up. This extra work is why many contractors fail to get quotes from suppliers. This instance can lead to problems if a sudden national supply shortage following a natural disaster, manufacturing plant fire, or a similar issue causes a shorter supply than is usually available. Labor Costs When choosing the right people for installing your drywall, an experienced one may cost a little more, but you will have the assurance that the project will go smoothly according to plan. An experienced worker will surely know the flow of the project, like how to install an access panel in a drywall ceiling and other processes. Similarly, an inexperienced taper may take much longer to get the job done, so even though their hourly wage is less than a professional taper, they will tend to cost more in the long run because they move more slowly. The distinction in a company's quoted price is generally more inclined on its labor costs than material costs. There is a wide range in labor costs from one company to another based on its structure and ability. Labor prices may also vary from state to state and different cities. Prices for labor only for hanging and taping drywall can range from 45 cents per square foot to 100 cents per square foot. You should expect to pay more in work for rooms with high ceilings, tricky angles, or decorative undersurfaces. Permits, Prep Work, and Rentals Beyond simple labor and materials, there are several other different job-related costs that your business wouldn't sustain unless you were working on that specific project. Permits for the project, extra labor, expenses for having prep work done before drywalling, and other included chores can eat away at your profitability if you don't take them into account. When you're estimating a new job, it's essential to consider every potential expense so that you include everything. Overall, when it comes to drywall installation, estimating the value of the project is vital. First, you need to make a checklist of the different materials included. Hiring a trusted contractor for the project will also allow you to ensure how much the project will cost. Remember to ask for quotes from different companies before starting your construction project. With this, you will secure that your estimated budget will go according to plan.
Share by: